With powerpoint, under animation one can choose whether we want an image to appear or disappear. Is this possible with TeXmacs (aside from having to duplicate the slide n times) ?
Does TeXmacs beamer have a way to make images "appear" and "disappear"?
I did not experiment a lot with Beamer, and I did it time ago, but try looking under the Dynamic menu of the Beamer style, maybe there is something that does what you want there.
Also please take a look at this http://forum.texmacs.cn/t/folding-computation/551: maybe you can get from that thread helpful hints.
1 Like
You can read the online manual under “Help->Manual->Laptop presentations”, there are tags to generate content which unfolds progressively (and I guess also appear/disappear). The “Jolly Writer” contain a full chapter about doing presentations with TeXmacs. Also as a fast tutorial there is a video tutorial on presentations: https://www.youtube.com/watch?v=LAk8-B-feM0
1 Like
Thanks for the suggestion. The first thing I did was look up some tutorials and I came across the one you linked. I have tried using the unroll tag, but couldn’t find a way to sync it with some text.
Let’s say you have an itemize block and you would like a figure to show up when you unfold the second item of the itemize block, how do you do that?
Why you cannot put it in the itemize item? Anyway the manual page hints to use “Insert->Fold->Overlays” for more complex transitions. It also describe a bit the procedure. You might want to give a try.
1 Like
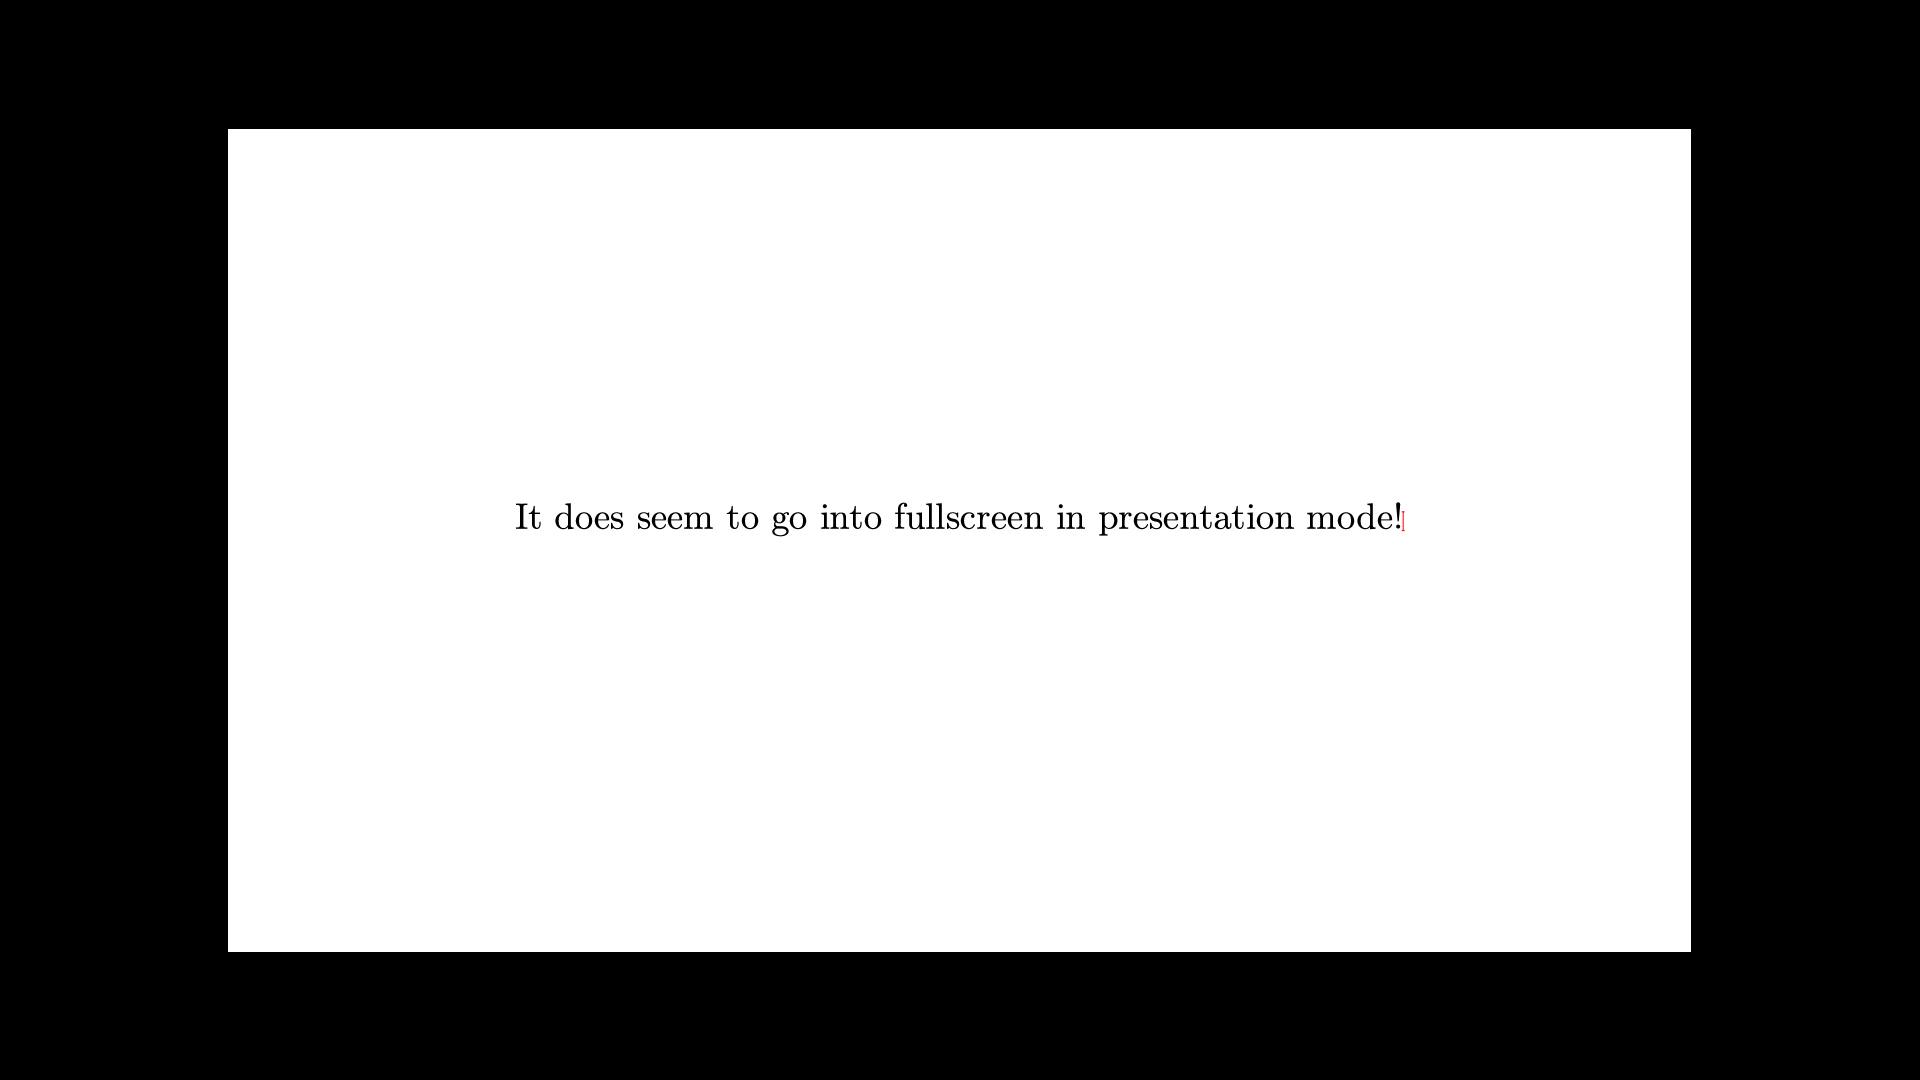
Another thing I’ve noticed is that I can’t seem to be able to go fullscreen in presentation mode despite setting the correct aspect ratio.
This might be a bug. Can you give some more details about your configuration (OS, version of TeXmacs, screen size, etc…)?
OS: Manjaro Linux
Desktop Environment: i3
TexMacs version: 2.1.1-1
Screen size: 15.1 inches (1920x1080)
Thanks. What happens if you choose “fit to width”?
2 Likes
The zoom factor is reset once you go to fullscreen on Linux to what @hamorabi’s screenshot show. Once fullscreen, you can do fit to width using the keyboard shortcut Ctrl-9.
Is the zoom factor set to “fit to width” when you go to fullscreen on other platforms? That would be more convenient default behaviour.
1 Like
Ctrl-9 fixes the issue.
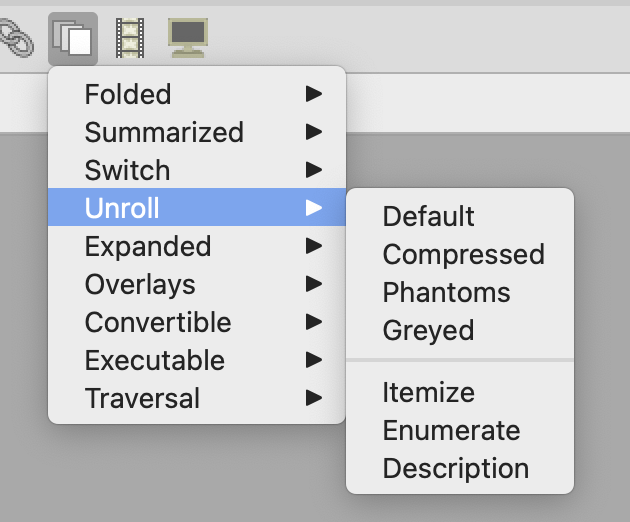
I experimented this yesterday. You can use unroll to do this. In the “unroll” menu there is “itemize” option. You can further make the image fade in by applying animations to the image. What do you mean by “sycn it with some text”?
Have a look at the animation below. You can see that I am syncing the second block of text with the image. It is important during presentations not to overwhelm the audience with too many things at the same time, hence why this is important.
I see. If your image is below the text, then it is easy to do with unroll. For side by side text and image, I finally figured out a way using Overlays. Follow the detailed steps below:
- Overlays icon Overlay -> Phantoms
- Overlays icon -> Overlay -> Visible from here on
- Insert plain tabular, or block if you want borders
- Type text
- Move focus out of tabular, then Overlay from, and into the overlay focus (better use arrow keys, observe the focus toolbar)
- Use Ctrl+right arrow key to insert a new layer
- Overlays icon -> Overlay -> Visible from here on
- Insert the image
- Adjust the Y offset of the image to be -h/2, where h is the height of the image. This way the text is center aligned with the image.
- (Optional) Apply some animations to the image so that in appears smoothly.
See the attached animation.

Of course, the top part of the text in your example should be put into a outer unroll structure. Then it’s an overlays structures nested in a unroll structure. It seems we can’t nest the overlay structure itself.
2 Likes
This is very different from what I am asking. I am looking for a way to synchronize the appearance of text and images.
I thought you don’t want the sync effect in your own example. If you want the text and image to appear at the same time, then it’s much easier. Just put the text and image in a 1x2 table and the table in an unroll item.
1 Like
This wouldn’t work since because the size of the image will dictate the size of the table cell. See the figure below. Putting the image with line 2 will push line 1 way up and line 3 way down.

Would it help as a first step centering vertically the cell content in the cell that contains the table only?
I investigated that a bit more and centering keeps the visible parts of the table centered while unrolling, so it is not the same as your ode example above.
Maybe some vertical space inside the cell, before the text, might help.